
Freshdesk is a cloud-based customer support software that helps businesses of all sizes to provide better customer service. It offers a wide range of features, including ticket management, a knowledge base, a self-service portal, reporting and analytics, and more.
If you’re looking for ways to improve your customer service, Freshdesk is a great option to consider. Here are some tips on how to use Freshdesk to its full potential:
1. Set up a ticketing system
The first step to using Freshdesk is to set up a ticketing system. This will help you to track and manage all of your customer support tickets from a central location.
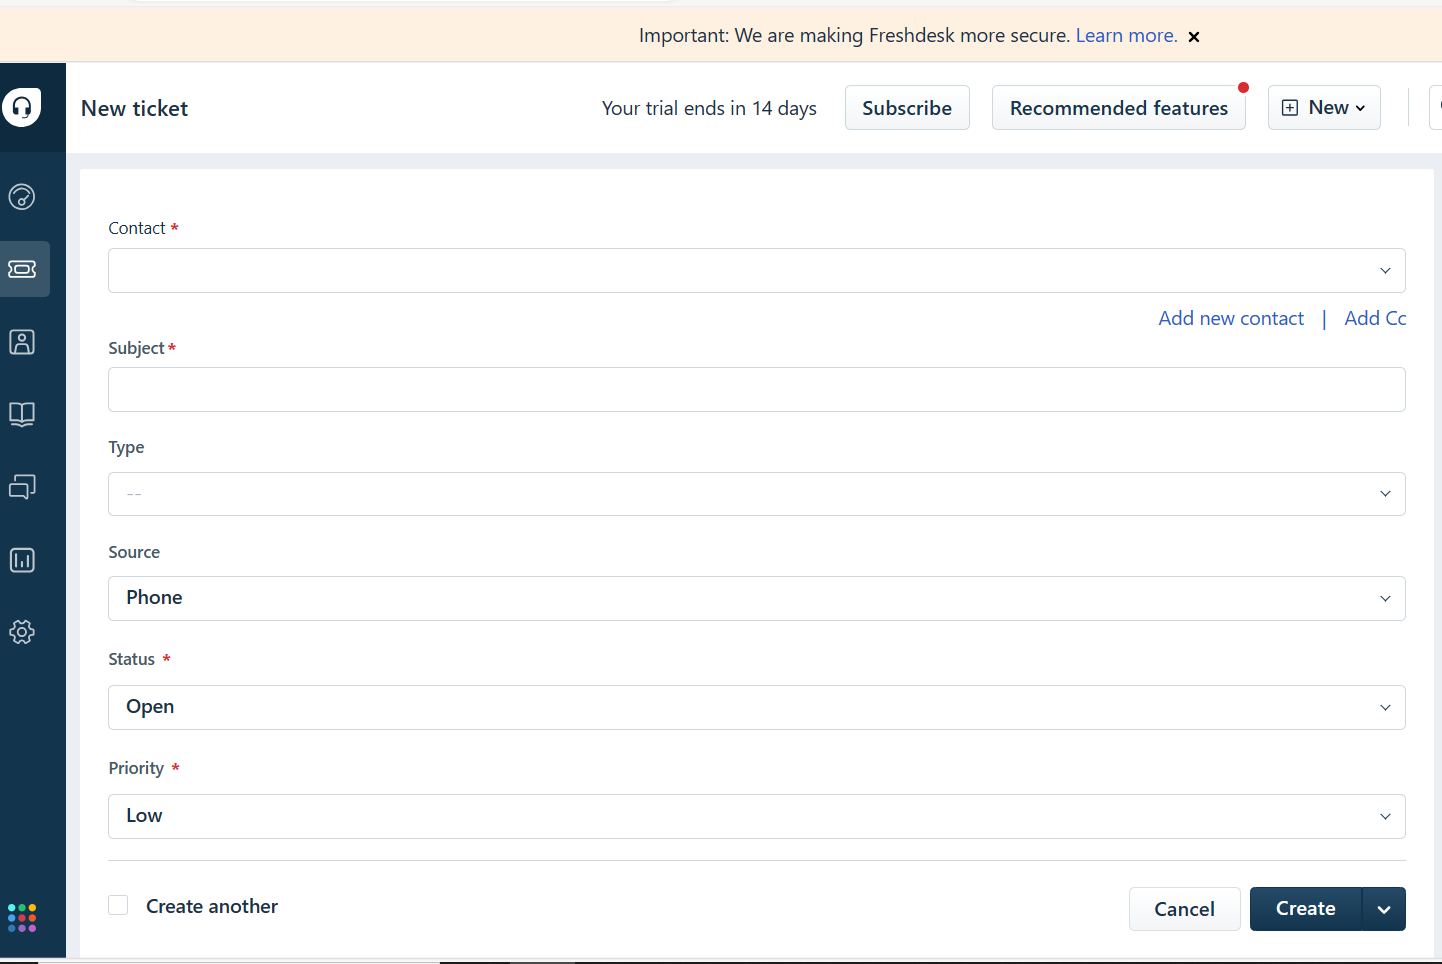
To set up a ticketing system in Freshdesk, follow these steps:
- Go to the Admin tab and click on Tickets.
- Click on the Create New Ticket button.
- Enter the customer’s name, email address, and the subject of the ticket.
- Select the department or agent that you want to assign the ticket to.
- Enter a description of the ticket.
- Click on the Create Ticket button.
Once you have created a ticket, you can track its progress and update its status as needed. You can also send messages to the customer and assign the ticket to different agents or departments.
2. Create a knowledge base
A knowledge base is a self-service portal where customers can find answers to their common questions. This can help to reduce the number of tickets that your customer support team receives.
To create a knowledge base in Freshdesk, follow these steps:
- Go to the Admin tab and click on Knowledge Base.
- Click on the Create New Article button.
- Enter the title of the article and the article content.
- Select the category that the article belongs to.
- Click on the Publish button.
Once you have published an article, it will be available to customers in the knowledge base. Customers can search for articles by keyword or browse through the categories.
3. Set up a self-service portal
Freshdesk’s self-service portal allows customers to submit tickets, track their progress, and view their support history. This can help to give customers more control over their support experience.
To set up a self-service portal in Freshdesk, follow these steps:
- Go to the Admin tab and click on Self-Service Portal.
- Click on the Enable Self-Service Portal checkbox.
- Customize the look and feel of the self-service portal.
- Click on the Save button.
Once you have enabled the self-service portal, customers will be able to access it from the Freshdesk website.
4. Use Freshdesk’s reporting and analytics features
Freshdesk’s reporting and analytics features can help you to track your customer support performance and identify areas for improvement.
To access Freshdesk’s reporting and analytics features, go to the Reports tab. You can generate reports on a variety of metrics, such as ticket volume, resolution time, and customer satisfaction.
5. Integrate Freshdesk with other business software
Freshdesk integrates with a variety of other business software, such as CRM systems and helpdesk tools. This can help you to streamline your customer support process.
To integrate Freshdesk with another business software, go to the Admin tab and click on Integrations. Select the software that you want to integrate with and follow the instructions.
6. Train your customer support team on Freshdesk
Once you have set up Freshdesk, it’s important to train your customer support team on how to use it. This will help them to provide better customer service.
Freshdesk offers a variety of training resources, such as online tutorials and webinars. You can also create your own training materials.
Conclusion
Freshdesk is a powerful customer support software that can help businesses of all sizes improve their customer service. By following the tips above, you can get the most out of Freshdesk and provide your customers with the best possible support experience.
Disclosure: This article contains Affiliate Links, We will earn a commission when you perform certain Actions.